


A robotic arm that can integrate with the large model API

点击空白处退出提示



A robotic arm that can integrate with the large model API
SphereGrasp
Project Description
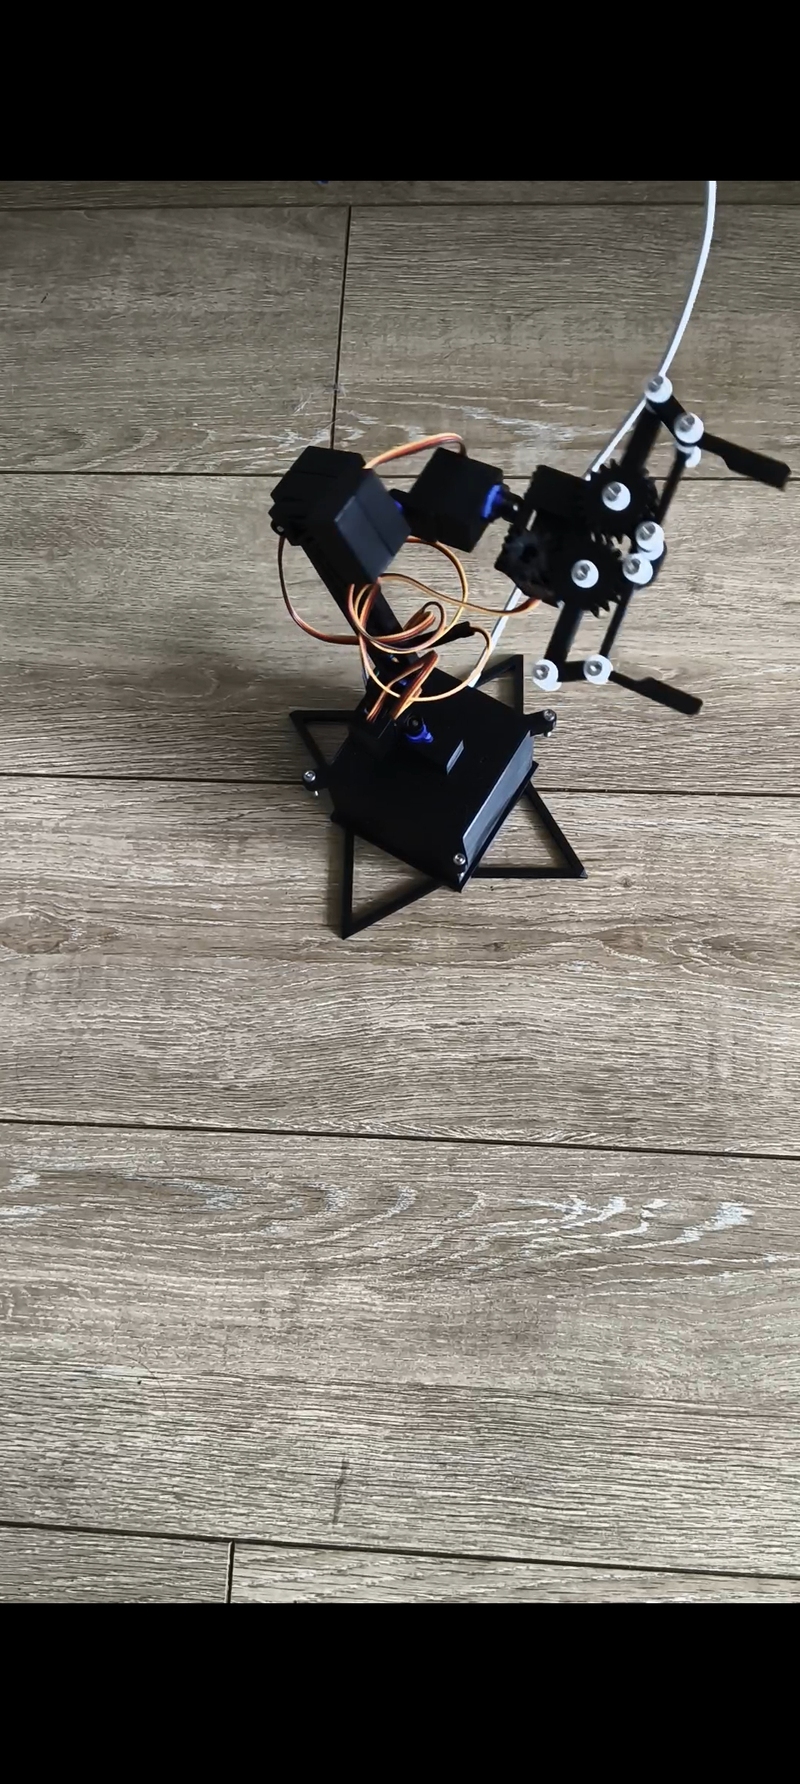
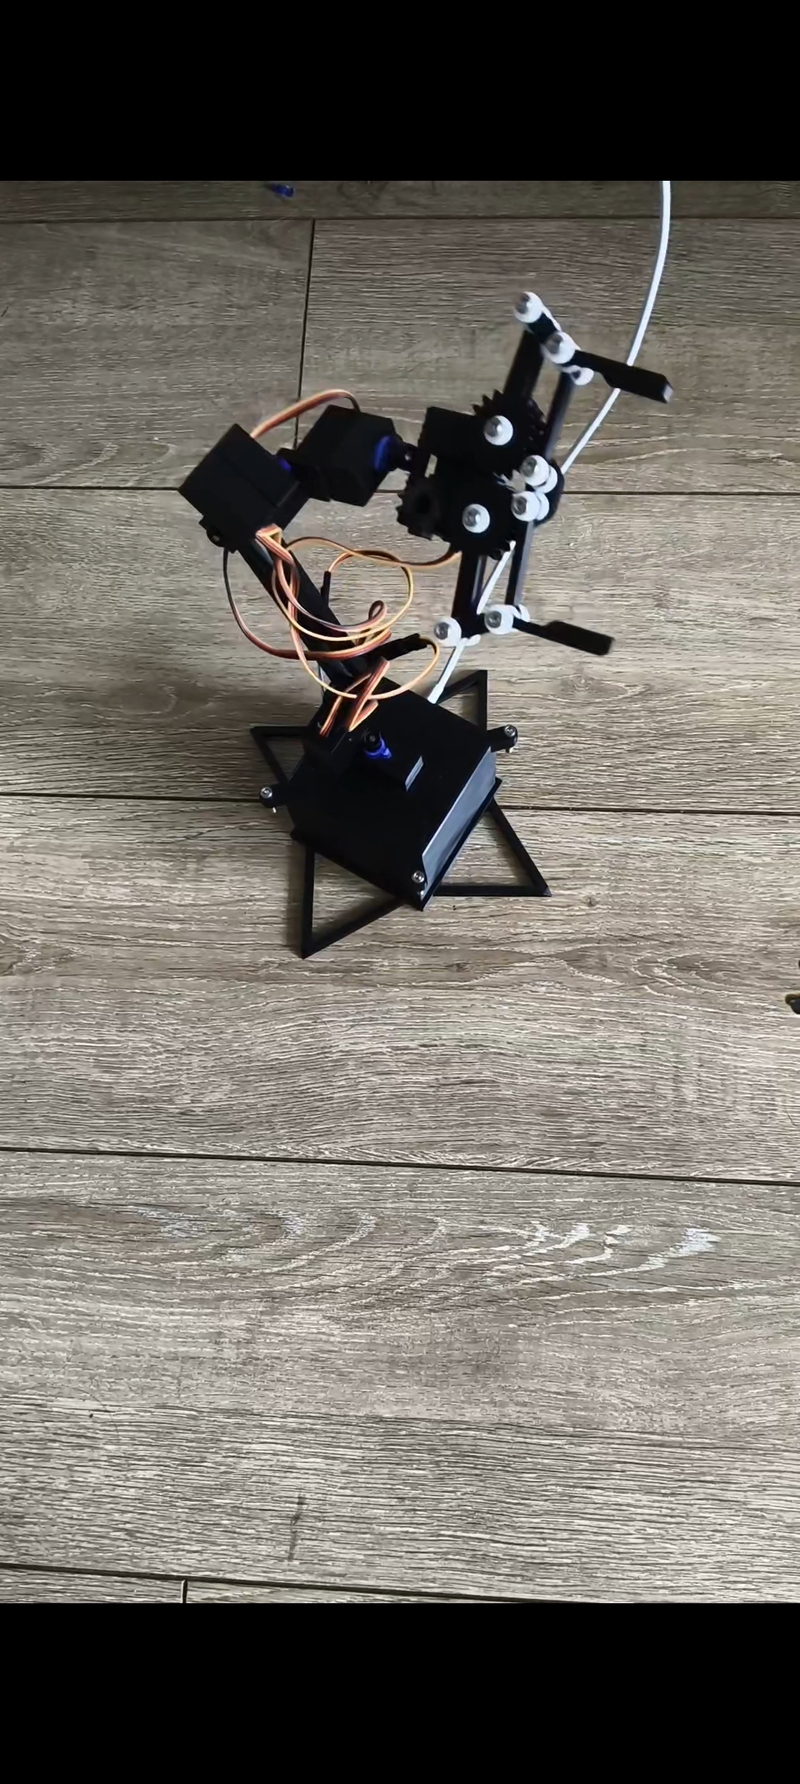
A robotic arm that can connect to large models, welcome technical exchanges, official website:www.pcquick.cn
PCB production
go to https://www.jlc.com/ upload PCB_files/SphereGrasp.zip document Perform PCB board fabrication and solder the sg90 servo motor, esp32 development board, and usb-c module onto the PCB board according to the PCB_files/SphereGrasp.eprj2 file.
3D model printing and installation
go to https://www.jlc.com/ upload Files in folder:3D_files,Alternatively, you can use your own 3D printer to print using 3D_files/SphereGrasp.3mf files.Install the 3D model, PCB circuit board, and servo motor using M3 screws and nuts according to the asset/SphereGrasp_course.mp4 explosion diagram video.
software installation
1.Burn ESP32 firmware
Connect the computer and development board using a data cable, and burn the Firmware/esp32-20220618-v1.19.1.bin firmware onto the development board.Pay attention to checking if the USB serial port permission on the computer is enabled
2.Upload microcontroller program
After connecting to the microcontroller,Open the main. py file and modify the WiFi name and password to enable the microcontroller to connect to the local area network, select the main.py file in the ESP32 folder and upload it to the microcontroller through the serial port and save it. This way, the microcontroller will automatically run the program when powered on,After running the main.py program and successfully connecting to the local area network, the IP address of the microcontroller will be displayed. Remember this address.
3.Run desktop programs
Firstly, make sure that your computer has installed the Python environment,At the same time, ensure that your computer is connected to the same network as the microcontroller,Run the remote_comtrol.py file in the directory of this project, enter the IP address of the microcontroller according to the prompts, and successfully connect to the microcontroller. Then, follow the prompts to enter commands to make the microcontroller run and control the servo.
python remote_comtrol.py
You can also run the app.py file, which is a more comprehensive control program. It will automatically open the browser and enter the front-end control page. You can follow the prompts to enter the IP address to connect to the microcontroller, and also enter the name, URL, and API key of the large model to connect to it, allowing the large model to control the microcontroller.
python app.py
SphereGrasp
Project Description
A robotic arm that can connect to large models, welcome technical exchanges, official website:www.pcquick.cn
PCB production
go to https://www.jlc.com/ upload PCB_files/SphereGrasp.zip document Perform PCB board fabrication and solder the sg90 servo motor, esp32 development board, and usb-c module onto the PCB board according to the PCB_files/SphereGrasp.eprj2 file.
3D model printing and installation
go to https://www.jlc.com/ upload Files in folder:3D_files,Alternatively, you can use your own 3D printer to print using 3D_files/SphereGrasp.3mf files.Install the 3D model, PCB circuit board, and servo motor using M3 screws and nuts according to the asset/SphereGrasp_course.mp4 explosion diagram video.
software installation
1.Burn ESP32 firmware
Connect the computer and development board using a data cable, and burn the Firmware/esp32-20220618-v1.19.1.bin firmware onto the development board.Pay attention to checking if the USB serial port permission on the computer is enabled
2.Upload microcontroller program
After connecting to the microcontroller,Open the main. py file and modify the WiFi name and password to enable the microcontroller to connect to the local area network, select the main.py file in the ESP32 folder and upload it to the microcontroller through the serial port and save it. This way, the microcontroller will automatically run the program when powered on,After running the main.py program and successfully connecting to the local area network, the IP address of the microcontroller will be displayed. Remember this address.
3.Run desktop programs
Firstly, make sure that your computer has installed the Python environment,At the same time, ensure that your computer is connected to the same network as the microcontroller,Run the remote_comtrol.py file in the directory of this project, enter the IP address of the microcontroller according to the prompts, and successfully connect to the microcontroller. Then, follow the prompts to enter commands to make the microcontroller run and control the servo.
python remote_comtrol.py
You can also run the app.py file, which is a more comprehensive control program. It will automatically open the browser and enter the front-end control page. You can follow the prompts to enter the IP address to connect to the microcontroller, and also enter the name, URL, and API key of the large model to connect to it, allowing the large model to control the microcontroller.
python app.py

评论